What photo evidence you need for a snag
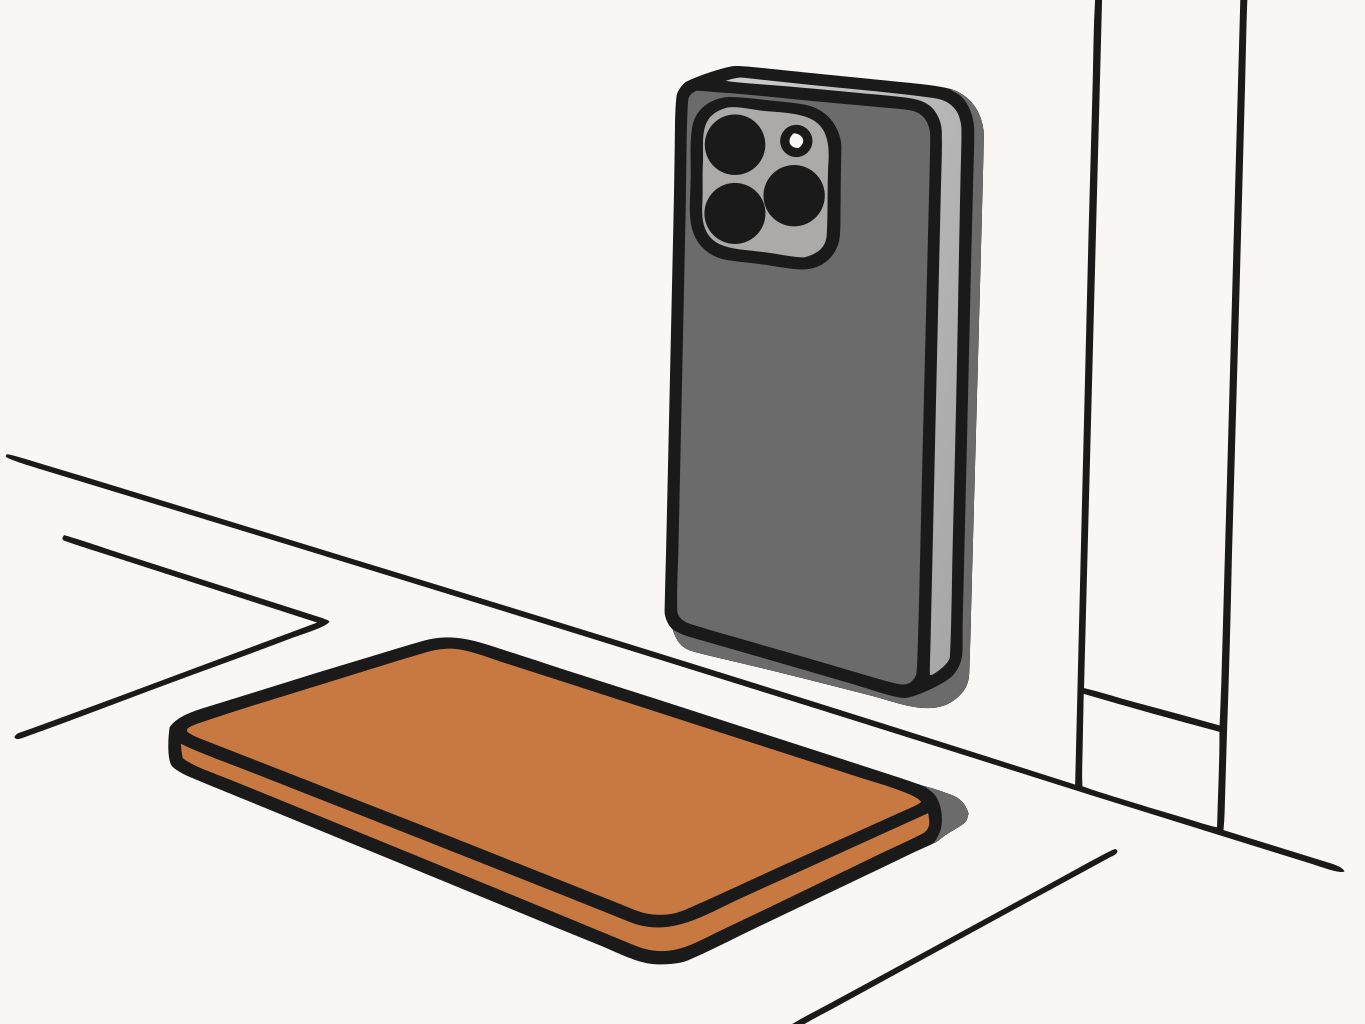
High quality photos are what turn "I am sure I saw a problem" into a record your developer or housing provider can act on. This page outlines how many photos you should aim to include per snag, what each photo should show, and best-practice guidance on how you can take report-ready photos without professional support or equipment.
The content in this article applies to any new build snag, irrespective of how you choose to build and maintain your list.
How many photos does each snag need?
Quality over quantity. Every photo should have a clear purpose, and you should aim to take at least three photos for each snag.
Key Photos to Include:
- One photo from a step back to place the problem in the room
- One photo of the whole problem with the area around it to show its scale
- One close-up photo to show the issue in more detail
Three purposeful photos are more valuable than twenty photos that fail to clearly demonstrate the issue. Some issues, however, such as damp in multiple locations in a bathroom, may require more than three photos to accurately document the extent of the problem in your home.
| Photo | Its job | What to include | Example |
|---|---|---|---|
| From a step back | Places the problem | The wall, corner or fitting it sits on, so anyone can find it in the room | The bathroom, showing where the damp patch sits on the ceiling above the shower |
| The whole problem | Shows it is real and clearly visible. | All of the problem, with a margin of its surroundings. | The full damp patch, edge to edge, with the surrounding ceiling |
| The close-up | Show the detail of the issue | The problem should fill the entire frame. Use something to highlight the scale of the issue where size is important. | The worst-affected corner of the patch, close enough to see the texture of the damage |
If the problem runs along a line, add a fourth photo taken at an angle along its length. A crack that follows a wall, or a gap that follows a joint, is often much clearer when photographed along its run, than it is when viewed head on.
What makes a snag photo usable?
A photo of a snag is usable when someone who has never seen the room can easily identify the issue.
5 Core Elements:
- The problem is in focus
- The problem sits clearly in the frame, preferably in the centre of the screen, and fills enough of it to be seen
- There is enough light for the issue to be visible (preference is always for natural light, open curtains or blinds if needed).
- The image is at full resolution (not compressed)
- The image includes a familiar size reference (such as a bank card) for issues where size changes how serious the problem is
One photo that meets all five points is enough to show your snag is a real issue that requires attention.
The three-photo set is stronger, because it places the problem, making it easier for anyone on-site to locate, and also shows its detail which can help make sure you get the right support from the beginning of your snag journey.
Never leave a snag off your list because you could only take one photo that meets this criteria. It is always better to create the snag record in writing, and the person or company responding will typically ask for you to clarify where information provided is unclear.
When does a photo need something for scale?
Add something for scale whenever the physical size of the issue changes what the problem means and how significant it is. A hairline mark (thin) and a wide crack are very different problems, and without a clear size reference, a photo on its own may struggle to accurately reflect what you found.
Professional tools, such as a tape measure or ruler, are always preferable for accurately highlighting the exact size of an issue, however, these tools may not always be available.
Common items, such as a coin or a bank card, can also provide a useful tool in illustrating size. These tools are also likely to be more readily available, and can still turn "quite big" into something a reader can more easily judge from the photo.
Objects for close-up scale
| Object | Approx. size | Good for |
|---|---|---|
| A 5p coin | about 18mm across* | A hairline crack or a small chip |
| A £1 coin | about 23mm across | A typical gap or crack |
| A 50p coin | about 27mm across the flats* | A wider crack or a larger chip |
| A bank card or an Oyster card | about 8.5cm long* | A dent, a patch of damp, a scuff |
Objects for judging distance and larger features
| Object | Approx. size | Good for |
|---|---|---|
| A standard internal door | roughly two metres tall* | A sloping floor, a gap under a door, how far up a wall damp has reached |
| A single stair step | between 15 and 22cm high* | A trip hazard, an uneven threshold |
Figures marked with an asterisk are commonly known approximations rather than measured values. Use them to judge scale, not to quote a size.
How do you take a clear photo of a snag?
Out of focus photos undermine the credibility of your report, even if you've done everything you can to make sure the framing and lighting are perfect. Ultimately, focus determines whether the detail of your snag survives your report.
Always tap your phone screen to focus your camera on the problem itself before you take a photo. Keep your phone still, and for the close-up image, make sure you allow the problem to fill the frame.
For surface faults, light is equally important in determining whether the fault is visible at all. Turn the room lights on and open the curtains or blinds if they are closed before you take your photos.
For issues related to raised, bumpy, dented or patchy surfaces, hold your phone torch off to one side: light raking across a surface can reveal issues that aren't visible with flat light, particularly in photos.
Make sure your own shadow doesn't mask the issue you are trying to capture, and for shiny surfaces, step sideways so the glare isn't visible in your photo.
Always check your photographs after you take them to make sure the snag is clear before you include them in your report.
What about a problem that moves, drips or will not close?
Photos can struggle to capture issues related to movement. Examples may include a door that will not close, a tap that drips, or water that pools.
For these issues, take a short video as well as your photos. This can be sent as a separate attachment in addition to your report. Try to keep the video short, limited to the minimum duration required to show the issue. For longer videos, you may need to compress the file to a zip file before you can include it as an email attachment.
For these issues, we always recommend photographing the impacted area, and taking photos before, during, and after you start your test for your final report record. Try to include a photo with every snag on your list wherever you can: it is what turns a claim into evidence someone else can check.
How we can help
sendingsnags is an app that turns your own walkthrough of a new build home into a clear, photographed snag report you can send to your developer or housing provider. We provide best practice guidance on what to look for during your walk-through, room by room, including the specific photos to take.
Every photo you take is stored against its snag, in its room, with its description, so the evidence this page describes arrives already organised. We also provide mark-up tools so you can direct readers to the specific issue you're highlighting for added clarity.
You can start your report at sendingsnags.com. We hope you find it useful.